
Reproduction photographer
You want to capture the whole sheet of paper and the print evenly. The positioning of the light and colour rendering matter more than a high brightness claim alone.


For an even reproduction photo of an etching, lighting from either side of the artwork is a good starting point. Two adjustable light sources give you more options for illuminating the whole print than one small panel. If you also want to show the paper texture or plate mark, take a separate photo using raking light. Check that the lights, stands and power supply will fit on and around your table, then assess the result with a test shot.
You want to capture the whole sheet of paper and the print evenly. The positioning of the light and colour rendering matter more than a high brightness claim alone.
You also want to show the relief, paper texture or condition. Alongside the reproduction photo, you can take a separate shot with light positioned low to the surface.
You need to be able to position the light, stand and any cables around a small table. So assess the complete setup, not just the dimensions of the light.
First decide whether your main aim is to capture the whole etching evenly, or whether you also want to bring out its texture. The Canadian Conservation Institute describes raking light as a way to emphasise texture and surface details. This is a separate shot, not a substitute for even lighting.
| What to consider | What should you check? | Who is this important for? |
|---|---|---|
| Even lighting | Take a test shot of the whole etching, including the corners. Check whether you can move and tilt your lights. | If you’re taking a reproduction photo, you’ll want the whole sheet to appear clear and evenly lit. Around 36% of consumers give even lighting top priority. |
| Tones and colour rendering | Check the CRI and colour temperature of the exact model, and keep the white balance consistent when taking your test shot. | If you want to reproduce the paper and ink as faithfully as possible, pay attention to colour rendering rather than just the selected light colour. Around 29% of consumers prioritise tone and colour rendering. |
| Positioning on the table | Measure the tabletop and the available space beside it. Also check the stand, mounting, tilt adjustment and cable routing. | If there’s little space beside the table, you’ll need to know where the light and stand will go without getting in the way of your camera setup. Around 21% of consumers make ease of positioning their top priority when choosing. |
| Power and accessories | Read the in-box contents and power specifications for the exact model; don’t assume that other versions come with the same accessories. | If you want to plan the complete setup, you’ll need to know whether the power supply and mounting parts are included. Around 14% of consumers base their choice mainly on power and additional purchase requirements. |
CRI and colour temperature describe different properties. ERCO explains that the general CRI is based on eight test colours, so that figure alone doesn’t guarantee how every shade will look in your photo.
Compare the specifications for the exact model and assess a test shot with consistent white balance.
A small light is easier to position, but that doesn’t prove it will illuminate the whole sheet evenly.
Plan where to place the camera, etching and light, then use a test shot to check the corners of the paper too.
What’s included varies by model. For example, NEEWER states that the adapter, cable, battery and stand aren’t included with the 176 LED version.
Check the contents and connections of the version you want to buy, then work out which parts your setup needs.
Light falling at a low angle emphasises texture and surface details, whereas a reproduction photo needs to show the whole print evenly.
If needed, take two separate shots: one of the full etching and another to show the paper texture or plate mark.
Kaiser Fototechnik presents the 5850 as an LED desk lamp for photography and video. Its articulated arm and base may be useful if you want to position the light around a small table.
NEEWER offers individual panels and kits. The NL-192B kit is an option if you want to set up lighting from two sides.
The Godox P260C Pro is an adjustable panel for anyone with enough space who wants to adjust the light colour or power supply.
Ulanzi describes the VL81 as a compact battery-powered light with mounting options, which could be useful for a portable setup.
The products below are related to photography lighting. Check whether the light, mounting and any accessories you need will suit your small table for each model.
 No image available
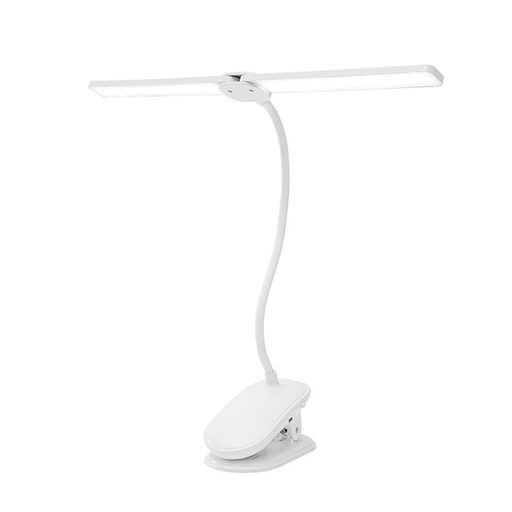
The two lamp heads let you try lighting from different directions; check that the clamp will fit the edge of your table.
The product name specifies dimming, three colour modes and 360° rotating heads.
 No image available
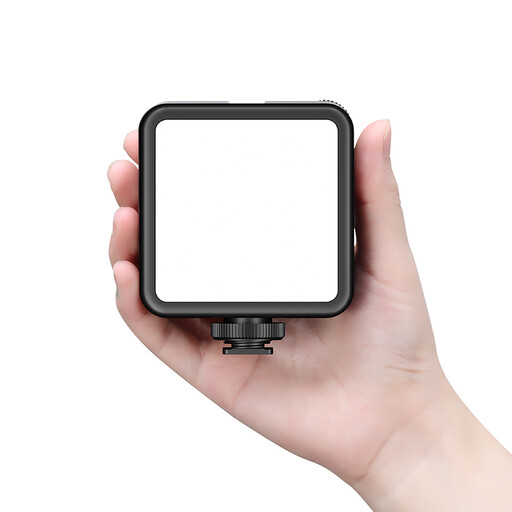
The built-in battery may suit a setup where you want to keep cables around the table to a minimum; check whether you’ll need a suitable stand for the position you choose.
Ulanzi specifies 3200–5500 K, dimming, a built-in 3000 mAh battery and a 1/4″-20 connection for the VL81.
 No image available
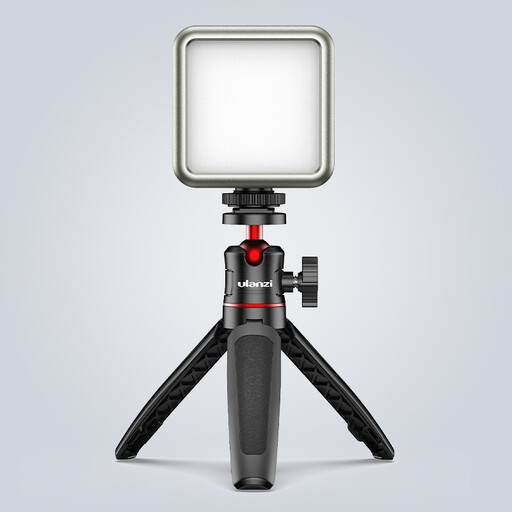
This portable video light may suit a mobile photography setup; use a test shot to see whether it provides enough coverage for the whole sheet.
The product name specifies a 2000 mAh battery, a colour temperature of 2500–9500 K and a magnetic back.
 No image available
Its portable design may be handy if you have little space around the table; check in advance where you can attach the light.
The product name specifies a magnetic mount and a 500 mAh battery.
 No image available
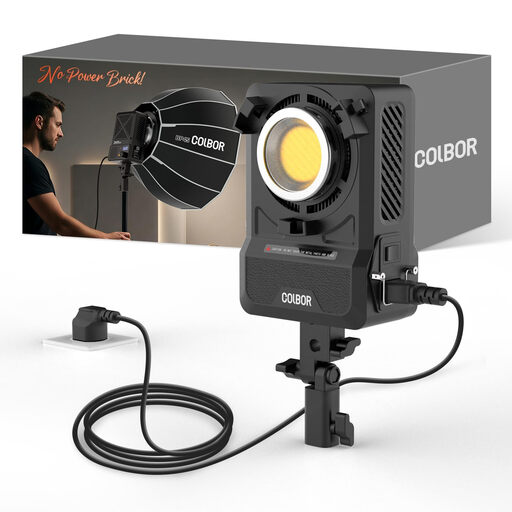
This is a studio light for photography and video; check that the light and the setup it requires will fit in the space around your small table.
The product name specifies 200 W, bi-colour 2700–7000 K and a Bowens mount.
Two light sources positioned on either side at around 45° are a good starting point for even lighting. One light may be more practical on a small table; if so, take a test shot to check whether the whole etching is lit as you want.
As well as the evenly lit photo, take a separate shot with one light positioned low along the surface. The Canadian Conservation Institute describes raking light as a technique for emphasising texture and surface details; assess the result on your etching with a test shot.
Support the sheet carefully and avoid unnecessary handling. The Canadian Conservation Institute notes that paper objects can be fragile due to factors including their condition, environmental conditions and improper handling. For a particularly fragile or valuable piece, seek conservation advice based on its condition.
This varies by model and version. NEEWER states that the adapter, cable, battery and stand are not included with the 176 LED panel. Check the contents of the version you want to order.
When you buy as a consumer, you have a statutory guarantee as well as any manufacturer’s warranty. ACM ConsuWijzer explains that the seller must provide an appropriate, free solution if a product breaks down sooner than you could reasonably expect under normal use; a manufacturer’s warranty period doesn’t automatically limit this statutory right.