
Chart explainer
You want to show the class small stitch and row symbols on a printed chart. Pay particular attention to the framing, focus and how the image looks on the classroom screen.


First, decide how the camera will connect to your school’s equipment: through a computer with a suitable camera app, or via the presentation equipment already in place. Then check how clearly the smallest symbols appear on the classroom screen; a stated camera resolution does not guarantee they’ll be readable from every seat. If you’ll also be demonstrating stitches, the image needs to show both the chart and your hands.
You want to show the class small stitch and row symbols on a printed chart. Pay particular attention to the framing, focus and how the image looks on the classroom screen.
You switch between the chart and the stitches in your hands as you explain. Check that your hands fit within the camera’s field of view and that you can easily reposition the camera.
You need to connect the camera to the laptop and presentation setup already used by the school. Check in advance whether it works through a computer and camera app, or requires a different connection.
Start by checking how it connects to the school’s equipment, then test whether the chart is clear enough on the classroom screen.
| What to consider | What to look for | Who is this important for? |
|---|---|---|
| Small symbols | View your own chart on the classroom screen, both as a full page and as a close-up. | I want to be able to follow stitch and row symbols from my seat, even when they’re small. Around 36% of consumers prioritise the readability of small symbols. |
| Connection | Check which computer, ports, camera app and screen connection the school uses for presentations. | I want the camera to work with the laptop and presentation setup already available at school. Around 29% of consumers give a suitable connection their highest priority. |
| Chart and handwork | Measure the paper and try out the hand movements within the intended frame. | I want to switch between the pattern and my hands while knitting, without moving the demonstration out of shot. Around 21% of consumers prioritise having room for a live demonstration. |
| Setup and portability | Check how much table space the setup needs and whether you can use the required software on the school computer. | I want to set up the camera easily for a school project and take it with me if needed. Around 14% of consumers value easy setup and portability most. |
A camera specification alone won’t tell you whether small symbols will be clear on the classroom screen and visible from the seats.
Place your own chart under the camera and check the smallest symbols on the screen you’ll use during the lesson.
A USB camera that works through a computer won’t necessarily connect directly to every projector or interactive whiteboard.
Ask the school to confirm which ports and presentation software are available, then check how your chosen model connects to them.
When demonstrating, you also need room for your hands, good framing and reliable focus as you switch between the paper and your handwork.
Assess the camera based on what you want to show in the lesson, not just its scanning or annotation features.
The V4K is a USB document camera worth comparing if autofocus and the available capture area are important to you.
The HD Pro is a USB document camera to consider if you want to adjust the camera position and focus yourself.
Compare the ELPDC07 and ELPDC13 if portability or a larger capture area matters for your classroom setup.
The IRIScan Visualizer 7 is worth comparing if you want to use the mentioned annotation software as well as show things live.
Joybuy product picks for document cameras to use in a school project.
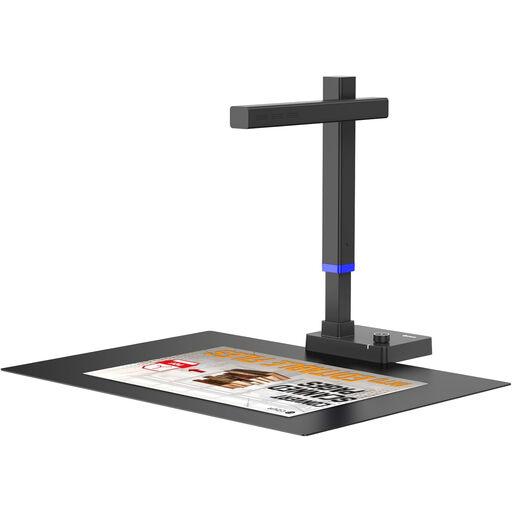 Image unavailable
Could be a good fit if you’re looking for a document camera for an A3 sheet and its USB connection works with the school setup. Test how clearly your chart appears on the classroom screen.
The product name and description mention A3 format, USB, OCR scanning and compatibility with Windows and macOS.
No, don’t assume it can. Epson specifies USB 2.0 for the ELPDC07 and describes a direct USB connection to compatible Epson projectors. For a different school setup, check whether the camera needs to be used through a computer and camera app.
Place the page within the capture area, focus on the smallest symbols, then compare the full page with a close-up on the classroom screen. If you’ll also be demonstrating stitches, check separately that your hands stay in shot. A stated resolution doesn’t guarantee that the image will be clear enough from every seat.
That depends on the material and the teaching context. For books and learning resources in Dutch primary education, Onderwijs en Auteursrecht describes an arrangement that allows limited display of extracts. This arrangement doesn’t necessarily apply to every knitting pattern, type of school or online sharing of a recording; check the relevant rights and school policies.
The Autoriteit Persoonsgegevens points out that schools should limit the privacy risks of online video calls and agree arrangements covering, among other things, who appears on screen, recordings, storage and informing people. Whether a DPIA is required for a particular type of processing depends on the privacy risk; using a document camera doesn’t automatically lead to the same assessment for every school.
Store the arm and cable so they don’t get trapped. Before your next lesson, check that the lens, focus and USB connection still give you a usable image, and follow the chosen model’s instructions for cleaning and storage.