Which camera is right for you?

Teacher demonstrating experiments on a table

You want the whole class to see an action, object or change on the demonstration table. A document camera is designed to show materials beneath it; Epson describes the ELPDC07 as having an adjustable height and rotating head.

Teacher with an existing classroom display

You want to connect the camera to the laptop, projector or monitor already in the classroom. AVer lists HDMI, VGA and USB for the M11-8MV; Epson describes the ELPDC07 as a USB model.

Teacher who also wants to appear on screen

You switch between appearing on screen and showing work on your desk. Logitech describes the MX Brio as having a downward-tilting Show Mode; check that the camera position gives you a clear view of your experiment.

What should you consider when choosing?

USB document camera

Choose this option: if you want to show experiments on a table on the classroom display via a computer.

Bear in mind: the camera takes up space on the demonstration table. Direct connection to a projector is described for the Epson ELPDC07 when used with compatible Epson projectors, not with every USB input.

Document camera with display output

Choose this option: if you want to connect without a computer using a compatible HDMI or VGA input; AVer lists these outputs for the M11-8MV.

Bear in mind: check the outputs for each model and what the display needs for connection.

Webcam on a suitable mount

Choose this option: if you want to switch between showing yourself and work on your desk.

Bear in mind: a downward angle won’t automatically give you a stable overhead view or enough sharpness to show a small object clearly.

What to consider What to look for Most relevant for
Clear overhead view Check that the head can sit steadily above the experiment and that the camera focuses at the working distance. IPEVO lists a focus range starting at 10 cm for the V4K PRO. If I want to show small changes or actions on the demonstration table clearly, I start with the camera position and focus. Around 36% of consumers say a clear view of the experiment is their top priority.
Connection to the classroom display Compare the camera’s output with the available input. AVer lists HDMI, VGA and USB for the M11-8MV; Epson describes USB for the ELPDC07. If I want to keep using the existing laptop, projector or monitor, the connection needs to suit my setup. Around 29% of consumers put compatibility with their existing classroom equipment first.
Teacher and tabletop view Check that the chosen angle shows both the experiment and the teacher view you want. Logitech describes a downward-facing Show Mode for the MX Brio. If I want to switch between showing myself and work on my desk during a lesson, both camera positions need to be practical. Around 21% of consumers prioritise this combination.
Privacy and recordings Point the camera at the experiment materials and decide in advance whether pupils will be recognisable on screen or audible. Follow the school’s privacy policy when making recordings. If pupils could be recognisable on screen or the lesson is being recorded, I want to know in advance how that footage will be managed. Around 14% of consumers prioritise privacy and recording management.

Common buying mistakes

  • Choosing based only on resolution or digital zoom

    A stated zoom figure alone doesn’t tell you whether a small detail in your experiment will look sharp at the distance you’re using.

    Check the working distance, camera position and image on the classroom display using the type of object you want to show.

  • Assuming every USB camera connects directly to every projector

    Connections vary by model. Epson describes direct connection of the ELPDC07 only with compatible Epson projectors.

    Make a note of the exact input on the display and compare it with the camera’s outputs before you order.

  • Assuming a downward-facing webcam is the same as a document camera

    A webcam that tilts down won’t automatically give you a stable overhead view or the sharpness your experiment requires.

    Check the actual setup: can you fit both the small detail and the whole action in the frame?

  • Recording pupils unintentionally

    Showing identifiable pupils calls for careful attention to privacy, particularly if the lesson is recorded or footage is shared.

    Point the camera at the experiment and make sure any planned recordings comply with the school’s privacy policy.

Brands to consider

Epson

Epson offers document cameras including the ELPDC07 and ELPDC13, designed to show materials beneath the camera.

  • According to Epson, the ELPDC07 has an adjustable head, LED lighting and one-touch autofocus. Direct projector connection is described for compatible Epson projectors.
  • Epson lists an A3 capture area and a microscope attachment for the ELPDC13.
  • Check which model and connection will work with the display setup in your classroom.

IPEVO

IPEVO makes USB document cameras for showing materials beneath an adjustable arm; the model featured here is the V4K PRO.

  • IPEVO lists autofocus from 10 cm, an LED light and USB-A/UVC for the V4K PRO.
  • Your host device needs to be compatible, and the minimum focus distance must suit the object you want to show.

AVer

AVer describes the M11-8MV as a document camera for materials on a table, with a choice of display connections.

  • According to AVer, this model has HDMI, VGA and USB outputs, as well as an A3 capture area.
  • The listed 20× zoom is digital; that figure alone doesn’t prove that a small detail in your experiment will appear sharp.

Logitech

The MX Brio reviewed here is a webcam for anyone who wants to show both themselves and work on their desk.

  • Logitech describes a downward-facing Show Mode for showing notes and sketches on your desk.
  • This feature doesn’t automatically replace an adjustable arm and the overhead view of a document camera; check your own setup.

ELMO

ELMO describes the MX-P3 as a portable document camera with several outputs.

  • According to ELMO, the MX-P3 has USB, HDMI and RGB outputs, as well as one-touch autofocus.
  • Check that the cables you need and the display input are compatible with your setup.

Webcams and monitors with webcams

These product picks are aimed at using a webcam with a computer, including desk-view setups and monitors with an integrated webcam. Check that the camera position and connection suit the way you want to show the experiment.
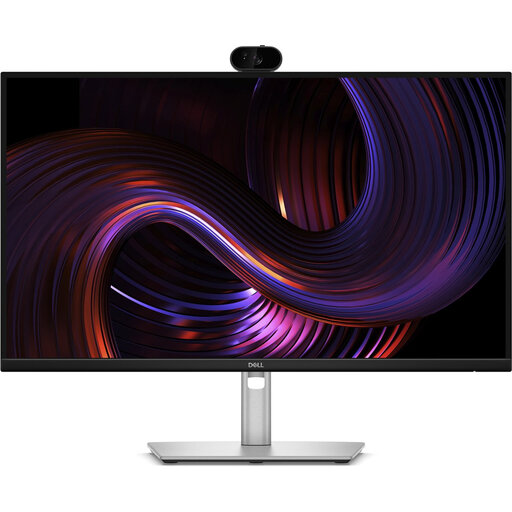
Dell Pro P P2726DEV 27-inch QHD IPS monitor with webcam

Dell Pro P P2726DEV 27-inch QHD IPS monitor with webcam

A monitor with an integrated webcam could suit you if a screen with a built-in camera works with your classroom setup; check that the camera angle is suitable for showing the experiment.

27-inch QHD IPS, 100Hz and webcam.

View at Joybuy
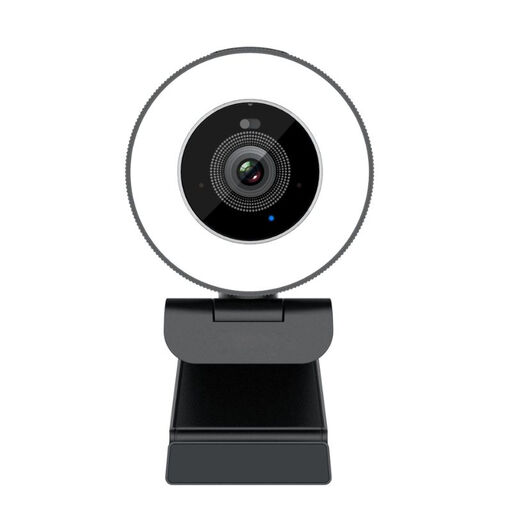
Philips 4000 Series 4K UHD Webcam SPL6408BT/00, black

Philips 4000 Series 4K UHD Webcam SPL6408BT/00

For a computer setup where you want to use a webcam; check that the mount and viewing angle work for showing materials on a table.

4K UHD, 8MP and autofocus. EU Version, black.

View at Joybuy
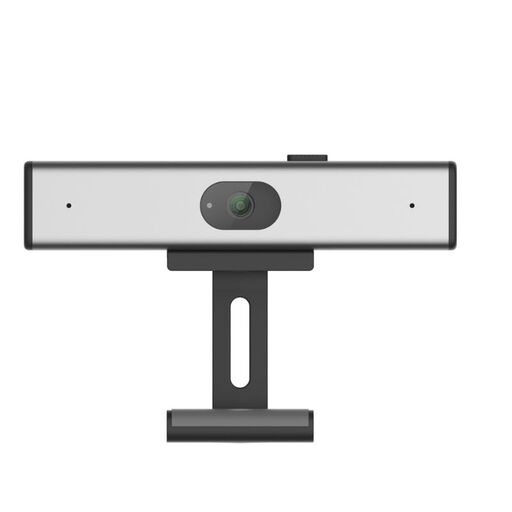
Philips 2K QHD PC Webcam SPL6308S/00, silver

Philips 2K QHD PC Webcam SPL6308S/00

For using a webcam with a computer; check that your chosen mount lets you get the view you want of the demonstration table.

2K QHD and noise-cancelling microphone. EU Version, silver.

View at Joybuy
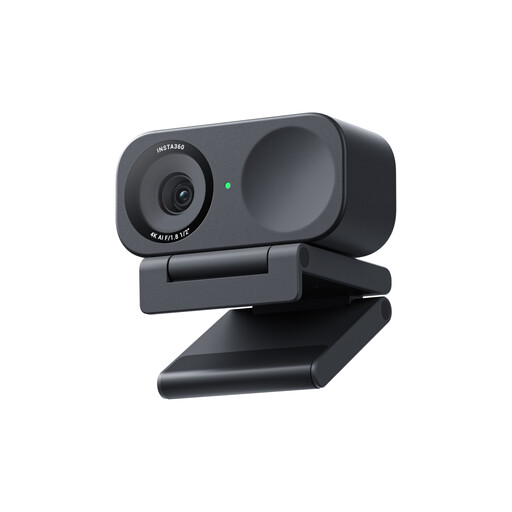
Insta360 Link 2C Standard Bundle, Graphite Black, 4K webcam

Insta360 Link 2C Standard Bundle, Graphite Black

For a computer setup with a desk-view mode; check that the camera position suits the experiment and the framing you want.

4K webcam, 1/2-inch sensor, HDR and AI noise-cancelling microphone.

View at Joybuy
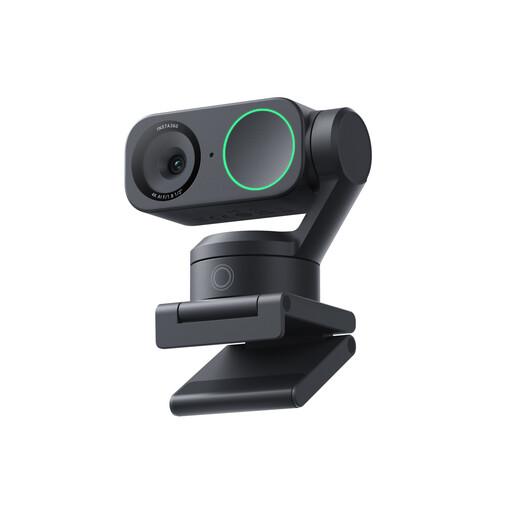
Insta360 Link 2 Standard Bundle, 4K webcam

Insta360 Link 2 Standard Bundle

For using a webcam with a computer; check that the camera position and mount work for the experiment you want to show.

4K webcam, 1/2-inch sensor, HDR and AI noise-cancelling microphone.

View at Joybuy

Frequently asked questions

Do I need a computer between the camera and the classroom display?

Not with every document camera. AVer lists HDMI and VGA for the M11-8MV; Epson describes the ELPDC07 as a USB solution and mentions direct connection to compatible Epson projectors. Compare the connections on your chosen model with those on the display in your classroom.

How can I stop the object in my experiment looking blurry or difficult to see?

Position the camera securely, focus at the actual working distance and check the result on the classroom display. IPEVO lists a focus range starting at 10 cm for the V4K PRO; Epson lists one-touch autofocus for the ELPDC07. If you’re using reflective materials, try changing the angle of the light too.

Does the school need to obtain consent if pupils appear on screen?

That depends on what the school does with the footage. The Dutch Data Protection Authority explains that consent is needed for identifiable images of pupils; for pupils under 16, consent must come from their parents, and from the pupil themselves once they are 16 or over. For lesson recordings, the regulator warns that pupils should not, in principle, appear on screen. This doesn’t automatically mean that a live view showing only experiment materials requires the same procedure: assess how the footage is actually being used.

What cooling-off period or warranty applies when the school buys the camera?

First check whether the school is buying as a consumer or as a business. The Dutch government describes a 14-day cooling-off period for consumers buying online; this doesn’t automatically apply to business buyers. ACM ConsuWijzer explains that consumers have statutory rights alongside any manufacturer’s warranty. For a business purchase, ask which terms and conditions apply to the order.
