Vandaag of morgen in huis

Kwaliteit gegarandeerd

Welkomstaanbiedingen ontgrendelen: GRATIS bezorging | Tot 80% korting | Gratis 30 dagen JoyPlus-proefperiode
Download de app
A Corsair RGB case fan can improve your PC’s airflow while giving it a smart finish. But a high maximum speed or lots of RGB lighting doesn’t automatically mean a fan will fit your case. Gamers and PC builders often run into three common pitfalls: choosing the wrong size, missing connections and unrealistic expectations about noise.
Use this buying guide to compare a Corsair PC fan using specifications you can check, such as size, airflow, PWM control, noise level and the number of fans in the pack.
A 120 mm case fan is a common size for the front, rear and top of many PC cases. A 140 mm case fan often moves more air at a similar speed, but it also needs a suitable mounting position. Always check your case manual or product specifications.
With 140 mm models, also check the clearance around RAM modules, motherboard coolers and radiators. A larger fan could get in the way, particularly in a compact mid-tower case.
RGB lighting only works properly when the connection and controller are compatible. An ARGB PC fan typically uses an addressable 5V connection, so always check that your motherboard supports it. A PWM connector controls fan speed, but it isn’t automatically the same connection as the RGB connector.
The iCUE ecosystem is another factor to consider with a Corsair iCUE LINK fan. Some models are designed to connect to an iCUE LINK System Hub. Check whether the hub is included or needs to be purchased separately. This helps you avoid finding out after delivery that you can’t connect a standalone fan straight away.
A fan with a range of up to 2,400 RPM can move a lot of air, but it will generally be more noticeable at maximum speed than under light load. Check the stated noise range as well as PWM control. This lets your motherboard adjust the fan speed according to temperature.
So a quiet PC fan isn’t just about the lowest dB figure. Positioning, dust build-up, cable routing and your fan curve settings also affect the experience.
Airflow is often listed in CFM or m³/h. A higher figure can be useful for an unobstructed air intake in your case. Static pressure is also important for a radiator case fan: it needs to push air through a dense cooling surface.
Use these figures to compare products within the same range. Manufacturers may present test conditions differently. For example, the stated figures for the models in question range from 63.1 CFM for certain 120 mm models to 102.9 CFM for the RX140 MAX RGB.
A 4-pin PWM connection allows more precise speed control via the motherboard. Check:
A standard fan is often around 25 mm thick, but that isn’t always the case. The RS120 MAX, for example, is listed as 30 mm thick. So check not only the diameter, but also the available depth.
Also compare a single fan with a 2-pack or 3-pack. A pack can be better value and more practical for a new PC build. For an existing case, one extra fan may be enough.
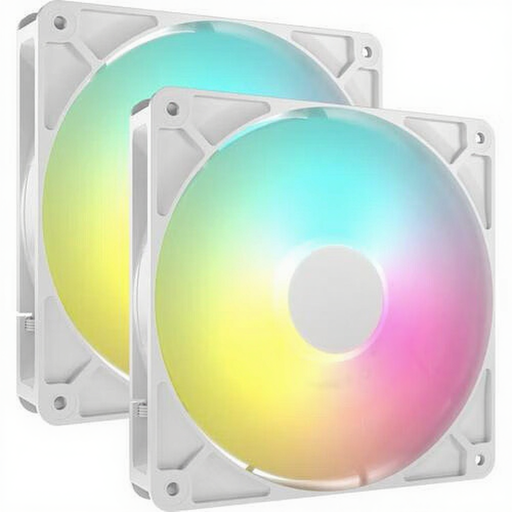
Why it suits this profile: the 2-pack gives you two 140 mm fans straight away for a new build or an upgrade, without having to combine individual fans.
The product specifications list the size, 4-pin PWM connection and two fans. This lets you check in advance whether your case and motherboard are compatible.
140 mm, maximum stated airflow of 95.5 CFM, PWM control and eight addressable LEDs per fan.
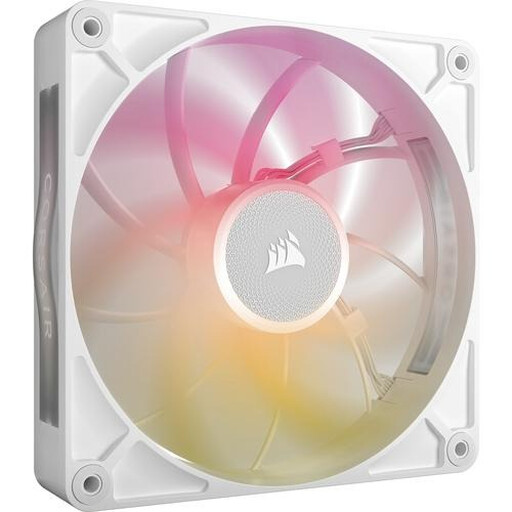
Why it suits this profile: ideal for a powerful 140 mm setup where airflow, control and radiator use matter more than a low purchase price.
The product details list both airflow and static pressure. Speed is also adjustable via PWM, so you don’t need to run the fan at maximum speed all the time.
Maximum stated airflow of 102.9 CFM, 2.38 mmH2O static pressure, eight RGB LEDs and a stated noise level of up to 31 dB.
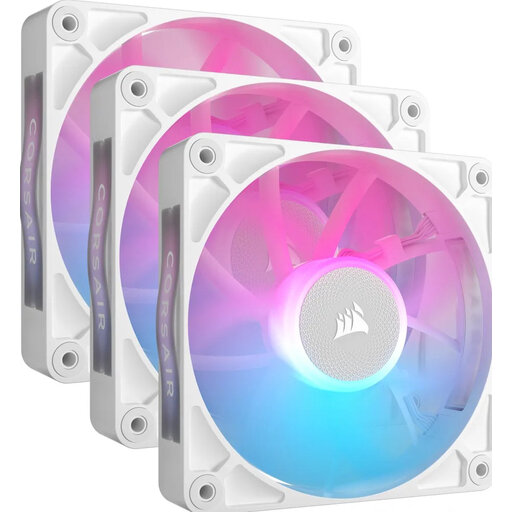
Why it suits this profile: a practical choice for a complete 120 mm cooling setup with multiple fans and central control.
The starter pack lists an iCUE LINK System Hub as included. Still, check compatibility and the maximum device capacity before buying.
Three 120 mm fans, PWM, RGB lighting, maximum stated airflow of 74.2 m³/h and a speed range of 400 to 2,100 RPM.
We’ve put together a complete, up-to-date list of products that meet these strict selection criteria and the applicable European safety regulations.
Shut down your computer completely and unplug it from the mains before installing a fan or connecting an iCUE LINK cable. Check the arrows on the frame: they show the direction of rotation and airflow. Fans at the front or bottom usually draw air in, while those at the rear or top exhaust it.
Secure the fan firmly, but don’t overtighten the screws. Keep cables clear of the blades and clean away dust regularly with compressed air or a soft brush. Don’t use water. If you notice excessive vibration or a sudden change in noise, it’s best to switch off the computer and check the installation and cabling.
It can be, if the product specifications list it for both case and radiator use. As well as airflow, consider static pressure, as air meets more resistance when passing through a radiator. Also check the radiator’s thickness and mounting size.
It depends on your case, components and preferred airflow. A common setup has one or more intake fans at the front and at least one exhaust fan at the rear or top. First, check how many mounting positions and fan headers you have.
RGB LEDs generally use little power compared with the rest of a gaming PC, but total consumption increases with every additional fan and controller. With an iCUE LINK setup, you’ll also need to consider the power supply and the System Hub’s maximum load.