
A team joining together from the classroom
You want colleagues in the room to be visible at the same time, and remote participants to hear questions from the group. Start with the seating arrangement and audio, not just the resolution.


If you’re the only person joining from a laptop, a personal webcam may be right for you. If several colleagues are joining from the classroom, choose based on who needs to be on camera and who needs to be heard clearly by remote participants. A conference camera is better suited to a group sitting in front of one camera, a 360° camera to people seated around a table, and a PTZ camera to a presenter or board you want to zoom in on. Each setup calls for different positioning and audio, so assess it in the room where it will actually be used.
You want colleagues in the room to be visible at the same time, and remote participants to hear questions from the group. Start with the seating arrangement and audio, not just the resolution.
You’re sitting at a laptop and mainly need a suitable camera view of yourself and a straightforward connection. A group camera isn’t necessarily the right setup in this case.
You want to be able to point, write or move around during the meeting. Decide in advance whether remote participants need to follow the presenter, the board or both.
Choose this option if: one team member is joining from a computer and doesn’t need to show the whole group.
Bear in mind: this won’t pick up voices from around the classroom without additional equipment or setup.
Choose this option if: several colleagues are sitting together and need a shared camera view and audio connection.
Bear in mind: a wide field of view doesn’t tell you whether people at the back of the classroom will be easy to hear.
Choose this option if: team members are sitting around a table and remote participants need to see different speakers.
Bear in mind: a camera in the middle of the table may not be suitable if the board at the front is the main focus.
Choose this option if: the camera needs to focus on a presenting team member, a board or another specific area of the room.
Bear in mind: zoom doesn’t replace a microphone for participants elsewhere in the classroom.
| What to consider | What to check before buying | Who is this important for? |
|---|---|---|
| How clearly the group can be heard | Compare the seating positions with the microphone setup; also check the speaker and echo in the classroom. | If I’m meeting with colleagues spread around the classroom, I want remote participants to be able to understand what they say. Around 31% of consumers prioritise group audio. |
| Getting everyone in the frame | Map out the seating positions and camera location, then check the field of view and framing. | If several team members are sitting at the table at once, I want to know whether everyone will fit in the shared frame. Around 31% of consumers prioritise the group view. |
| Simple personal use | Check the USB connection, mounting, privacy cover and the specific microphone configuration. | If I’m joining from my computer on my own, I want a simple video feed of myself from the classroom. Around 23% of consumers prioritise personal use. |
| Showing the presenter and board | Check whether pan/tilt or optical zoom is needed, and whether content sharing needs to be set up separately. | If I’m presenting at the board, I want remote participants to be able to follow the presenter or the content. Around 15% of consumers prioritise the presentation view. |
A camera specification doesn’t tell you whether people in the room will be easy to hear. The video and audio setup needs to suit the people and spaces in the classroom.
First, work out who will be speaking and where they’ll be sitting. Then test the full video and audio setup from the seats you plan to use.
You may need to reposition the equipment or add audio devices.
The range stated by Owl Labs for the Meeting Owl 3 is manufacturer information; how clearly people can be heard also depends on the positioning and the room.
Use the stated range to plan your setup, then test how the audio sounds to remote participants.
Showing people around a table is different from focusing on a presenter or board.
Choose the camera angle based on what remote participants need to follow. If necessary, allow for a different camera setup or separate content sharing.
The C920e is designed for one person, while MeetUp and MeetUp 2 are separate product lines for small shared spaces.
The Studio R30 is a USB video bar for small shared meeting rooms.
The Meeting Owl 3 is an all-in-one 360° option for participants sitting around the device.
The CAM520 Pro3 is a USB PTZ camera for focusing on a presenter, participants or a board.
The TW-200 is a personal Full HD webcam, not a complete conference setup.
The PanaCast 50 is a wide-angle video bar for a group sitting in front of the camera.
These products are personal USB webcams for someone joining from their own computer; they aren’t a complete audio setup for a whole group in the classroom.
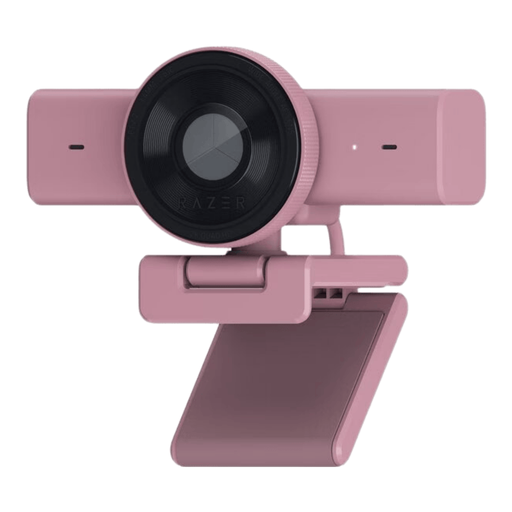 No image available
Suitable for an individual joining from a computer via USB.
The product name lists 1440p/1080p at 60 FPS and USB. Check that your computer runs Windows 10 64-bit or Windows 11.
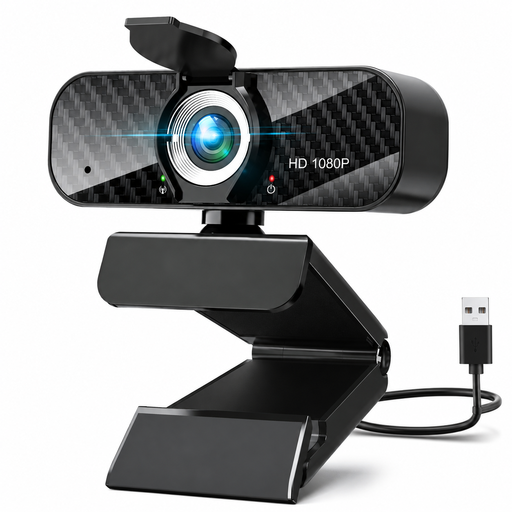 No image available
A personal USB webcam for video calls from a PC or laptop.
The product name lists Full HD 1080p, a built-in microphone and USB Plug & Play.
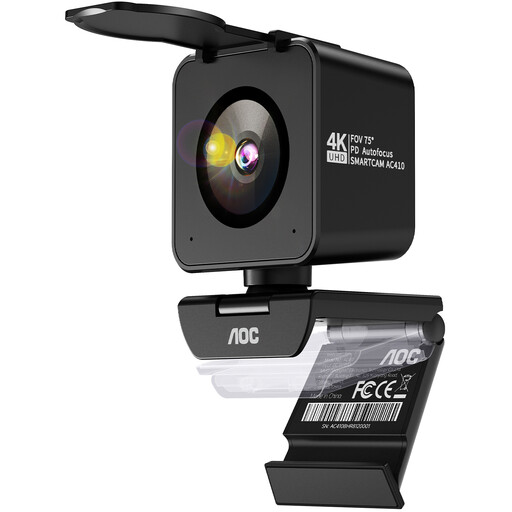 No image available
A personal webcam for someone joining a meeting on their own.
The product name lists a Sony IMX363 sensor, PDAF autofocus, dual microphones, a lens cover, a 75° field of view and USB-A/USB-C.
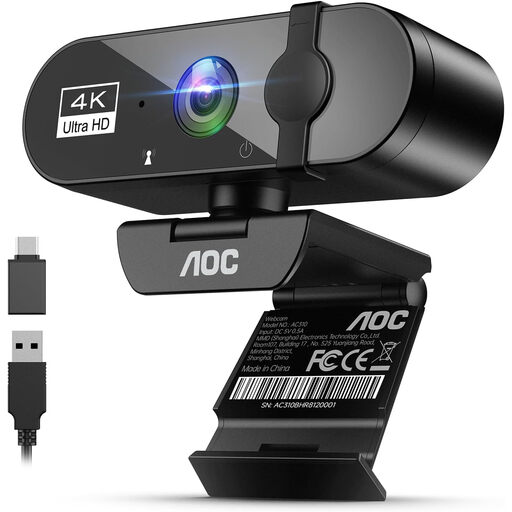 No image available
Designed for an individual joining from a PC or laptop.
The product name lists 4K, a 99° field of view, a built-in noise-cancelling microphone and a privacy cover.
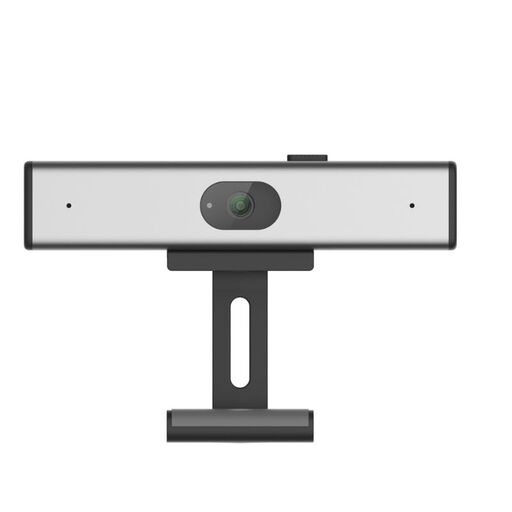 No image available
A personal PC webcam for meetings and video calls.
The product name lists 2K QHD, a noise-cancelling microphone and a clip mount for a laptop or monitor screen.
A personal webcam may be suitable if only you need to appear on camera from your computer. If colleagues around the classroom need to take part, assess both the camera view and how clearly they can be heard; resolution alone won’t tell you that.
Position the camera where you plan to use it and select the right camera, microphone and speaker in your meeting software. Ask someone joining remotely to listen from the furthest seat you plan to use. For a presentation, also check that the presenter and shared content are easy to follow.
Check whether your chosen setup needs suitable mounting, cables, a power supply or additional audio equipment. Also check which components are included with the specific version or bundle, and review the seller’s warranty and returns terms, especially if an organisation is making the purchase.
This depends on the purpose and how you handle it. If pupils or students appear on camera during video calls, the Dutch Data Protection Authority (Autoriteit Persoonsgegevens) advises institutions to limit privacy risks, inform those involved and agree arrangements for matters such as recordings and storage. A DPIA is mandatory for processing that presents a high privacy risk. The AP sets out separate consent rules for making and publishing identifiable images of pupils; those rules on publication don’t automatically mean that the same consent requirement applies to every live team call.
No. The Dutch government states that consumers buying at a distance often have a 14-day cooling-off period, but there are exceptions. Don’t automatically apply this consumer rule to a purchase made on behalf of a school or other organisation; check the relevant terms of sale instead.