
Maker working with colour-sensitive glazes
You want to keep glaze colours true to life and have control over lighting, white balance and editing. Canon, Sony and Fujifilm describe RAW and white balance options that may suit this kind of workflow.


Choose your camera and lens to suit your setup: for whole bowls, a suitable standard zoom is a good starting point, while small glaze details call for greater magnification. In either case, careful lighting and white balance are important, so a white background doesn’t obscure visible detail in the bowl.
You want to keep glaze colours true to life and have control over lighting, white balance and editing. Canon, Sony and Fujifilm describe RAW and white balance options that may suit this kind of workflow.
You take repeatable photos of whole bowls against a white background and first want to decide which lens and setup will work in your workspace. The Consumentenbond describes mirrorless cameras as cameras with interchangeable lenses.
You want to show small textures or maker’s marks on their own, so you need to consider magnification and the working distance in front of the lens. Canon and Nikon publish specifications for individual macro lenses.
| What to consider | What should you check? | Who should give this more weight? |
|---|---|---|
| Glaze colour | Check RAW shooting and white balance settings for the exact model; with fixed lighting, use a neutral reference. | If I want to assess glaze colours under the same lighting, I want to be able to control white balance and edit the colours if needed. Colour control is the top priority for around 31% of consumers. |
| Whole bowl on white | Check that the supplied lens can frame the whole bowl from the distance available to you; assess the exposure and histogram in test shots. | I want to keep the whole bowl and its light details visible against a white background. This is the top priority for around 31% of consumers. |
| Small details | Compare the maximum magnification of the exact lens and check how much space is left in front of it for lighting. | If I want to capture small patterns or maker’s marks at a larger size, magnification is my top priority. This applies to around 23% of consumers. |
| Complete kit | Check which lens and accessories are included in the exact kit and whether an additional lens fits the lens mount. | I want to know which components I need for my setup, rather than looking at the camera body alone. The contents of the complete kit are the top priority for around 15% of consumers. |
Maximum magnification varies from lens to lens. Canon lists a maximum of 0.26× for the RF-S 18-45mm kit zoom under specific focusing conditions, and a maximum of 1:2 for the separate RF 35mm macro lens; Nikon lists 1:1 for the Z MC 50mm f/2.8.
Compare the maximum magnification of the exact lens with the size of the detail you want to photograph.
If a kit zoom doesn’t show your chosen detail large enough, you may need an additional lens.
Canon explains that a histogram cut off abruptly at the right-hand side may indicate lost tonal detail. This can make the visible texture of light-coloured areas of the bowl disappear.
Take test shots and check both the bowl and the background. Look at the histogram before photographing a whole series.
If light details are lost, you may need to retake the photos.
A mirrorless camera needs an interchangeable lens. The Canon EOS R50 kit and Nikon Z50II kit reviewed here each include a standard zoom, but kit contents vary by version.
Before buying, check the exact kit contents, lens mount and which components you need for your setup.
Canon offers mirrorless cameras with an RF mount and individual lenses for standard shots and close-ups.
The Z50II kit reviewed includes a Z DX 16-50mm zoom; Nikon also offers a separate macro lens with a Z mount.
The α6400 uses Sony’s E mount and can be paired with a separate E-mount macro lens.
The X-S20 has an X mount and offers options for a manually controlled shooting and editing workflow.
These cameras with standard zooms are options for framing whole ceramic bowls; check the lens and the components you need for your setup for each version.
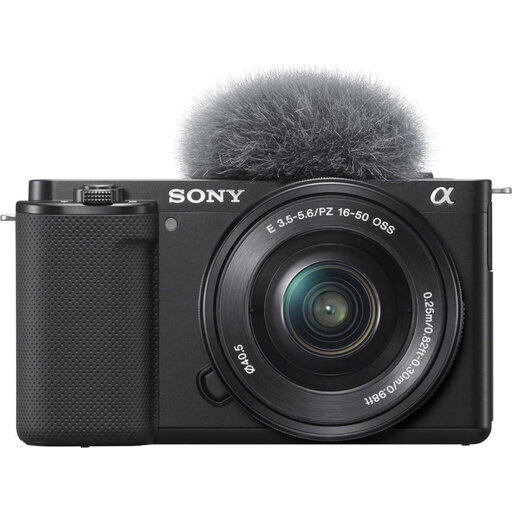 No image available
A zoom kit that lets you adjust the framing for overview shots of whole bowls.
The kit includes a 16–50mm zoom. An SD card and adapter/charger are not included.
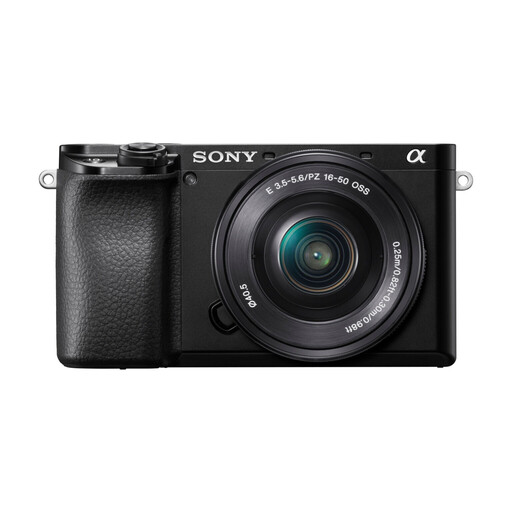 No image available
A zoom kit that lets you adjust the framing when photographing whole bowls from different angles.
This version includes a 16–50mm f/3.5–5.6 OSS II lens.
No. A standard zoom may be enough for a photo of the whole bowl if its angle of view and focusing distance suit your setup. If you want to show small details at a larger size, compare the maximum magnification of the kit lens with that of a suitable close-up or macro lens.
Check test shots and don’t rely on automatic metering alone. Canon notes that a very bright scene may be rendered too dark. Adjust the exposure if needed and check the histogram, while also looking for detail in the lighter areas.
Keep the lighting consistent and set the white balance under that light using a neutral reference. RAW files can give you room to assess colour afterwards, but they can’t restore detail lost through overexposure.
If a product is faulty, contact the seller. According to the Dutch government, there is no fixed statutory guarantee period in the Netherlands; what you can expect from a product depends, among other things, on the product, its price and the information provided.
For distance purchases from a business, you generally have a 14-day cooling-off period, according to the Dutch government. This does not apply to online purchases from a private individual; check the terms and conditions that apply to your purchase.