
Builder working with tiny details
You want to film small parts and joints clearly. So start by checking the working distance, framing and lens.


When choosing a camera for a miniature-building lesson on a small table, start by considering the filming distance, the view of your hands and the size of the smallest part – not just the resolution. A compact camera means fewer separate lens choices; a mirrorless camera can offer more options for close-up detail, but you’ll need a suitable lens and a stable mount. Before buying, record a test clip from the planned height, and check the lighting, sound and power supply too.
You want to film small parts and joints clearly. So start by checking the working distance, framing and lens.
You want the camera, your hands and the building area to stay out of one another’s way. A stable overhead view and a clear work surface are important.
You record explanations and want to avoid interruptions caused by sound, power or storage issues. Check all of these as part of your complete setup.
| What to consider | What should you check? | Who should pay particular attention? |
|---|---|---|
| Filming small details clearly | Compare the focusing distance and framing of the exact camera or lens at your planned working distance. Record a test clip of the smallest part while your hands are moving. | If I want to show small joints clearly, seeing the details matters more than keeping my setup as simple as possible. Around 33% of consumers prioritise seeing details clearly. |
| Clear work surface and overhead view | Test the mounting height, reach and stability of the support. Also check that both hands remain visible and the camera stays outside the building area. | I want to build without the camera or mount getting in the way of my hands. Around 27% of consumers prioritise a clear work surface and a useful overhead view. |
| Clear explanations and uninterrupted recording | Listen to a test recording from your usual speaking distance. Check the microphone options, power supply and suitable memory card for the exact camera. | For me, a lesson is only useful if the explanation is clear and the recording can continue uninterrupted. Around 20% of consumers prioritise keeping lessons running smoothly. |
| Complete setup | Compare the lens, power supply, storage and mounting parts actually included with your chosen configuration. Don’t look at the camera body alone. | I want to know what I need to use the complete lesson setup, not just the price of a camera body on its own. Around 20% of consumers prioritise the complete kit. |
High resolution doesn’t tell you whether a small part will appear large enough at your filming distance or whether the camera can focus on it. A tight close-up can also leave your hands out of shot.
Compare the smallest detail at the actual mounting height, using the exact lens or camera. Check at the same time that your hands remain visible.
If a detail still looks too small at your chosen distance, you may need a different lens or to adjust the mount.
The features described by Sony and Nikon are designed for showing an object in front of the camera. That doesn’t prove the camera will keep every part on a fixed work surface in focus throughout a whole lesson.
Test the focus while your hands pick up, move and put down parts.
With a mirrorless camera, your chosen lens helps determine how much detail you can capture. An overhead view may also need a sturdy mount; for longer explanations, lighting, storage or a microphone may be important too.
Check which lens and accessories are included with each configuration, and what else you’ll need for your setup.
A mirrorless camera option where your choice of RF or RF-S lens helps determine whether you can capture a wider view or a close-up.
The ZV-1 II has a fixed lens, while the ZV-E10 II lets you choose from E-mount lenses.
The Osmo Pocket 3 combines a small camera with a built-in gimbal, which may be particularly useful for moving shots between recordings.
The Z50II could be an option if you switch between speaking to camera and showing an object during a lesson.
Below are compact video, vlog and action cameras for filming at a worktable. For each camera, check that the focus, framing and mounting options suit the smallest parts in your build.
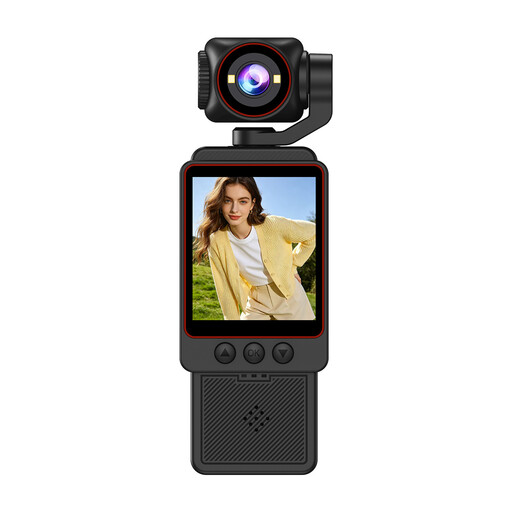 Image unavailable
Could suit you if you’re looking for a small camera for tutorial videos; first check whether the smallest part will appear large and sharp enough at your filming distance.
The product name lists 1080P video, fast focus, Wi-Fi transfer, a noise-cancelling microphone and an included SD card.
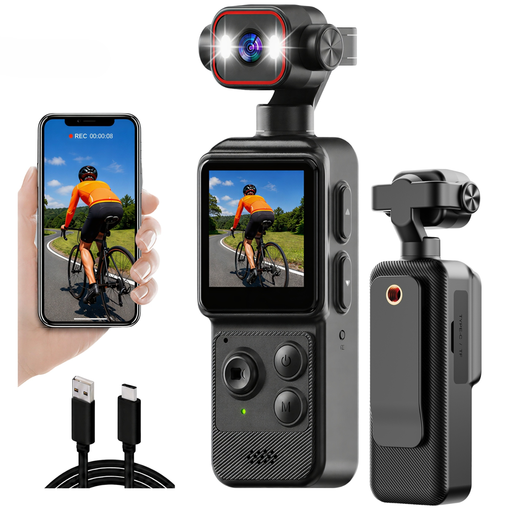 Image unavailable
The clip may be useful if you’re looking for a different mounting point; check that the mounting height and support allow for a stable overhead view.
The product name lists a 1.54-inch display, a 140° field of view, app control, an LED light and a 1200 mAh battery.
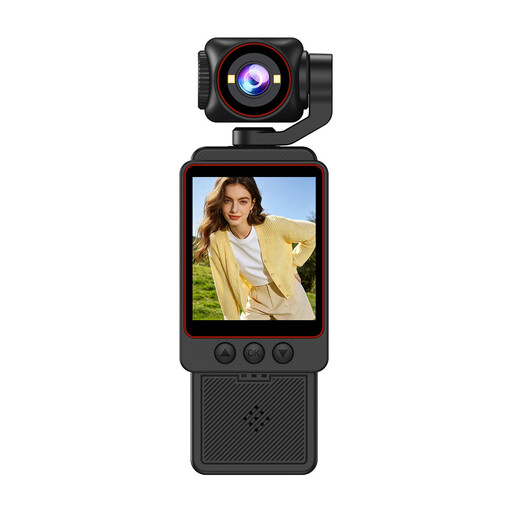 Image unavailable
The rotating lens can help you adjust the filming angle; record a test clip to check that your building area and hands stay clearly in shot.
The product name lists 2K video and a 360° rotating lens for audio and video recording.
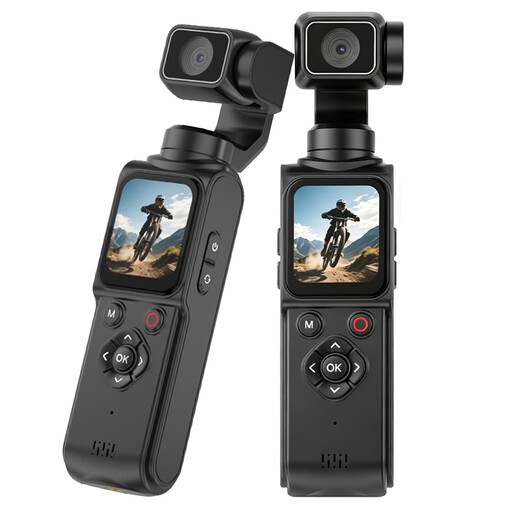 Image unavailable
A mini tripod is listed with this camera; check that the included support provides the height you need and a stable position above the table.
The product name lists Wi-Fi, a 1.72-inch touchscreen, face recognition and Type-C.
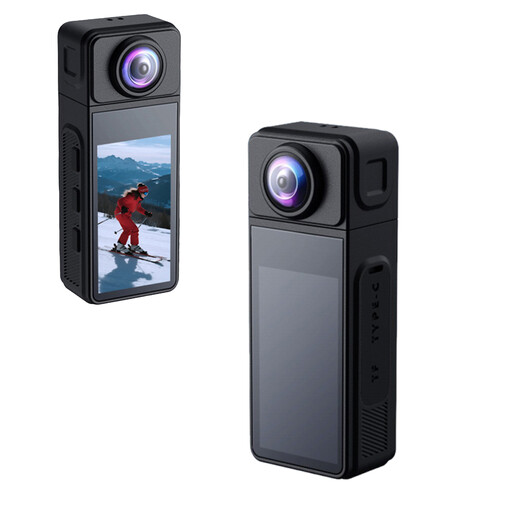 Image unavailable
The rotating lens may allow for a different filming angle; test whether the camera shows the whole work surface from its planned position without losing the smallest details.
The product name lists a magnetic housing and electronic image stabilisation.
No. 4K alone doesn’t guarantee that. Check how much of the frame the part fills and whether the camera or lens can focus at your planned distance. Record a test clip of the smallest building step.
First decide on your work area and where both hands will be, then mount the camera securely outside the building area. Check the framing on the screen and film a short building step to see whether your hands obscure the subject.
Check the power supply, a suitable memory card and the sound from your usual speaking distance. The Dutch Consumers' Association lists a battery, tripod and, where needed, an external microphone as useful things to consider when filming.
No. According to the Government of the Netherlands, there is no fixed legal guarantee period in the Netherlands. You’re entitled to a product that works properly for as long as you can reasonably expect it to. If something goes wrong, contact the seller. A manufacturer’s guarantee is additional.
First check which privacy rules apply to sharing the footage. According to the Dutch Data Protection Authority, recognisable people are personal data. The exception for purely personal or household use doesn’t automatically apply if you share footage publicly or for business purposes; you’ll need a legal basis under the GDPR.