
Maker focused on stitch details
You want to show the texture of embroidery thread and small finishing details separately. The magnification of your chosen lens and the space in front of it are important factors when choosing.


For complete patches, a compact camera with a close-up mode or a mirrorless camera with a standard zoom lens may be enough, provided a test shot gives you the framing you want. If you want to capture individual stitches in close-up or change lenses later, compare a mirrorless camera with a suitable macro lens. Also consider working distance, lighting and the time needed to set up a fixed shooting position.
You want to show the texture of embroidery thread and small finishing details separately. The magnification of your chosen lens and the space in front of it are important factors when choosing.
You photograph several colour variations and want the lighting, white balance and framing to stay consistent across them.
You want to start by photographing complete patches without buying a separate macro lens straight away. Assess the close-up mode or kit lens based on the smallest detail you want to show.
Choose this option if: you want one camera without changing lenses, and a test shot clearly shows both the whole patch and the stitches you want to capture. OM SYSTEM says the TG-7 has a built-in Microscope mode and a 12 MP sensor.
Bear in mind: the lens is fixed, so check that the framing and the space for your lighting work for you.
Choose this option if: you mainly want to photograph complete patches and would like to start with an included lens. Canon specifies a maximum magnification of 0.25× for the RF-S 18-45mm in the close-up setting described.
Bear in mind: a kit lens is not automatically a macro lens. Check the exact lens included in the box and take a test shot of your smallest stitch detail.
Choose this option if: individual stitches or material texture need to fill a large part of the frame, and you want to buy a suitable lens separately. Nikon specifies 1:1 for the Z MC 50mm f/2.8, Sony specifies 1.0× for the FE 90mm, and Canon specifies 1.4× for the RF 100mm.
Bear in mind: the camera body and lens need to be compatible. Working distance determines how much space is left in front of the lens for the patch and lighting. The magnification figures given are specifications for individual lenses.
| What to consider | What to look for when buying | Who is this important for? |
|---|---|---|
| Capturing stitches and edges | Compare the maximum magnification of the exact lens, the mount and the working distance. If possible, take a test shot of the smallest detail. | If I want to show individual stitches clearly, I focus on magnification and the space in front of the lens for lighting. Around 33% of consumers make stitch detail their top priority. |
| Reproducing thread colours | Check whether you can adjust the white balance and, if you wish, shoot in RAW. Compare test shots under the same lighting. | When photographing several colour variations, I want to avoid changes in lighting making the colours look different. Around 27% of consumers prioritise colour accuracy. |
| Creating a consistent series | Check whether the camera can be mounted on a tripod, and whether the screen and controls work well in your overhead set-up. | If I want to photograph a series of patches with the same framing, a fixed set-up is important. Around 20% of consumers prioritise consistency. |
| Cost of a practical set-up | Check the exact contents of the box and allow for a possible macro lens, tripod and lighting. | If you want to start by photographing complete patches without buying a separate macro lens straight away, consider the cost of the whole set-up. Around 20% of consumers make the cost of a set their top priority. |
Canon notes that white balance can help you achieve the desired colour rendering in challenging lighting conditions. Consistent framing and lighting are also important when photographing a series of products.
A kit lens may offer different magnification from a separate macro lens. Canon specifies a maximum of 0.25× for the RF-S 18-45mm in the close-up setting described, and a maximum of 1.4× for the RF 100mm; these are specifications for two different lenses.
Check which lens is included in the box and compare its magnification with the smallest stitch detail you want to show.
Minimum focusing distance is measured from the sensor plane. Working distance is the space between the subject and the front of the lens.
Compare the working distance if you want to position a lamp or diffuser close to the patch.
Lighting conditions can affect colour rendering, while consistent framing also helps keep a series looking uniform.
Test the lighting and white balance with several thread colours before choosing a camera based solely on body specifications.
Inconsistent results can mean extra time spent retaking photos or correcting colours.
The TG-7 has a built-in Microscope mode. The OM-5 Mark II is a mirrorless camera for which you could consider buying a compatible M.Zuiko macro lens separately.
An EOS R camera can be paired with a standard zoom lens for complete patches, or a separate RF macro lens for close-ups.
The Z50II is a Z system camera, while the separate NIKKOR Z MC 50mm f/2.8 is an option for close-ups.
The FE 90mm F2.8 Macro G OSS is a separate macro lens for a Sony camera with an E-mount.
Below are cameras and camera kits available at Joybuy. For patch photography, check whether the specified lens and close-up capabilities suit the smallest detail you want to capture.
 No image available
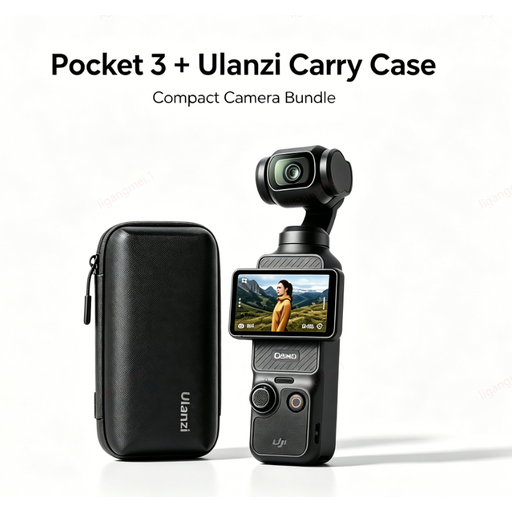
Take a test shot to check whether the patch details you want to capture appear large enough in the frame with this camera.
The bundle includes a DJI Pocket 3 camera and a Ulanzi storage bag.
 No image available
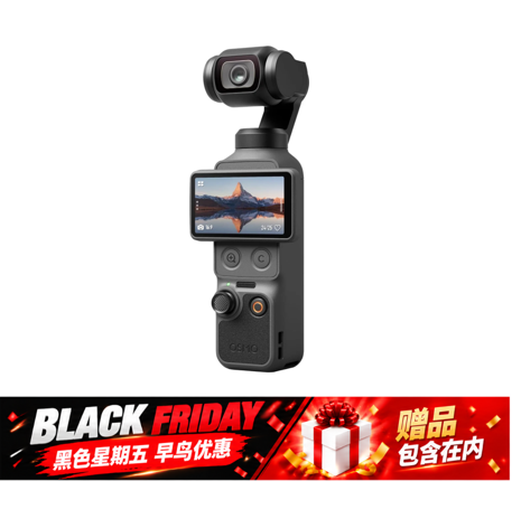
Take a test shot to check whether you can achieve the close-up framing you want for your patches.
The product title lists a 1-inch CMOS sensor, 4K/240 fps, 3-axis stabilisation, 2× lossless zoom, 107 GB of built-in storage and a 2-inch rotating screen.
 No image available
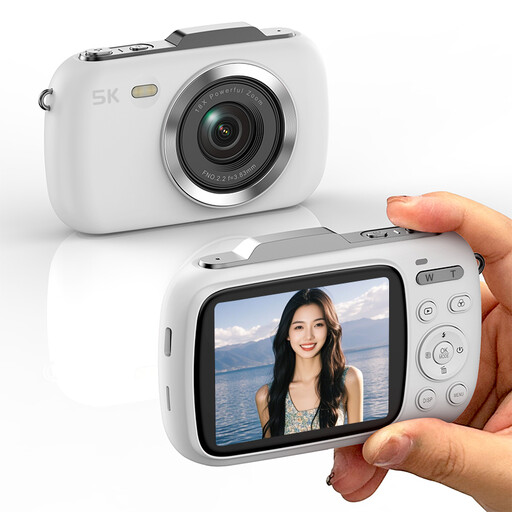
Take a test shot of the smallest stitch you want to show before choosing this camera for close-up photography.
The product title lists 5K, 80 MP and 18× zoom.
 No image available
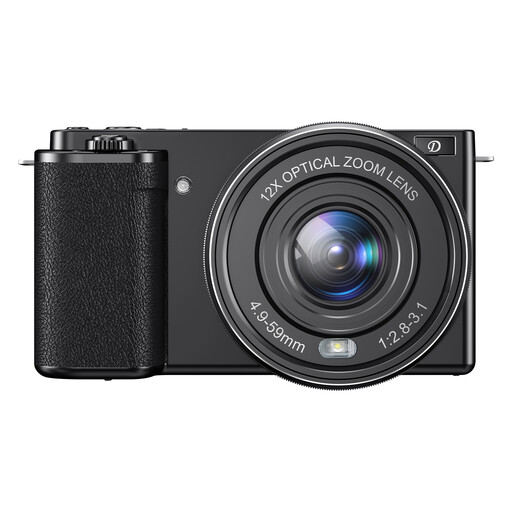
Assess the close-up framing with a test shot of your patch; a zoom specification alone does not tell you how much stitch detail will be visible.
The product title lists 12× optical zoom, 4K and 64 MP.
 No image available
The set includes a standard zoom lens. Take a test shot to check whether it suits the smallest detail you want to photograph.
The product title lists a 16–50mm zoom lens.
No. For a complete patch, the framing from a standard zoom lens or close-up mode may be enough. If you want to show stitches in close-up, compare the maximum magnification of the exact lens and, if possible, take a test shot.
Use a fixed background and tripod set-up, check the white balance under your chosen lighting and take a test shot. This lets you assess the exposure and framing for the series before photographing all the patches.
For eligible online consumer purchases, the Dutch government generally provides for a 14-day cooling-off period, with exceptions, including purchases from a private seller. There is no fixed statutory warranty period of exactly two years in the Netherlands: the product must meet the standards you are entitled to expect. Different terms may apply to business purchases.
Not necessarily. According to the Dutch government, you may generally use other people’s copyright-protected photos for distribution or publication only with the creator’s permission. This does not, by itself, determine whether a specific patch design shown in a photo infringes someone else’s rights.