
Teacher who wants to reduce hand shadows
You film the nib from above or at an angle and want to stop your writing hand from obscuring the letters. Start by considering the position of the window, your hand and the fill light.


Start with a test shot by the window. If the paper and nib are clearly visible and it’s mainly your hand casting a shadow, a white reflector can bounce the existing light back onto that area. If the window light is too weak or inconsistent, adjustable continuous lighting gives you more options: a diffused panel is a practical choice for fill light, while a COB light with a suitable modifier needs more space and accessories.
You film the nib from above or at an angle and want to stop your writing hand from obscuring the letters. Start by considering the position of the window, your hand and the fill light.
You record lessons that run for longer or take place at different times, and want to be able to adjust the lighting when needed.
You have limited space around your paper and camera. Check in advance where a light, clamp or stand will actually fit.
First, see whether a reflector provides enough light for your writing area. If you need extra light, decide whether a panel, COB light or desk clamp will suit the space you have and the changing daylight.
Choose this when: the paper and nib are already clearly visible and you mainly want to soften the shadow cast by your hand.
Bear in mind: a reflector doesn’t produce light itself; it works with the light already available.
Choose this when: you want to supplement the window light and adjust the brightness or white tone during the lesson.
Bear in mind: a version with a stand needs space on the table or floor. Also check that your chosen kit includes a suitable stand.
Choose this when: you want to choose a separate light modifier and have space to position it out of shot.
Bear in mind: an included reflector isn’t the same as a large softbox. Check which accessories and mount are included in the kit.
Choose this when: you have limited floor space and a suitable desk edge to attach it to.
Bear in mind: check that the mount reaches over the entire writing area. A product specification doesn’t prove that the light will fall evenly across the paper.
| What to consider | What should you check? | Who is this important for? |
|---|---|---|
| Visibility of the nib and hand shadow | Make a test recording using the hand you normally write with. Check that the window light and reflector or diffused panel keep the nib visible. | If I want to see how the nib forms the letters without my hand obscuring the writing area, this comes first. Around 36% of consumers put avoiding hand shadows at the top of their list. |
| Changing window light | Check whether the brightness and colour temperature are adjustable, and monitor the writing area during a longer recording. | When the daylight changes during a lesson, I want to be able to adjust the fill light without having to rethink the whole setup. Around 29% of consumers prioritise being able to adjust to changing window light. |
| Stable video and colour | Check the included power supply and make a test recording using your preferred camera settings. Look out for colour shifts and bands in the image. | When filming longer lessons, I want to check the power supply and image with my own camera before recording. Around 21% of consumers prioritise stable recordings of ink and paper. |
| Space and a complete kit | Measure the desk edge and the space around the paper. Check which mount, stand, diffuser and power supply are included with each version. | With limited space beside my camera and paper, I want to know in advance whether the light and mount will fit my setup. Around 14% of consumers prioritise space and a complete kit. |
Test with the paper, ink and camera settings you’ll use during the lesson. A stated CRI is a manufacturer’s specification, not a guarantee of how your ink will look on video.
A reflector redirects existing light. If the writing area is already too dark, it won’t add any light of its own.
Try it on the shadow side and review a test recording. If the nib is still hard to see, compare adjustable continuous lights.
The stated light output of the amaran COB 60x S applies with the specific reflector used for the measurement. It doesn’t tell you how another diffuser or softbox will perform.
Check what’s included in the version you choose, and pick a light modifier that suits the space around your paper.
These specifications don’t tell you whether your ink will look good or whether the light and camera combination will produce visible bands.
Test with the paper and ink you use, your preferred camera settings and your usual writing speed.
The P260C Pro is a bi-colour panel with a built-in diffuser, for anyone looking for separately adjustable fill light alongside a window.
The NL660 is a bi-colour panel, available in versions with or without a stand.
The COB 60x S is a bi-colour point light source with a Bowens mount, for creators who want to choose a separate light modifier.
The Key Light Air MK.2 is a panel with a desk clamp for a fixed, compact setup.
The RC 60B is a portable bi-colour COB option for filming in more than one location.
These Joybuy products are compact video lights to compare for a small writing desk and changing window light.
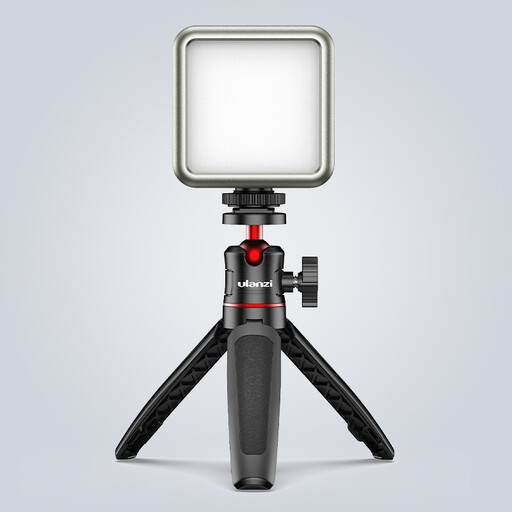 No image available
Its compact design and magnetic back may suit a small setup, if you have a suitable metal surface available.
The product name lists dimming, a colour temperature of 2500K–9500K and a 2000 mAh battery.
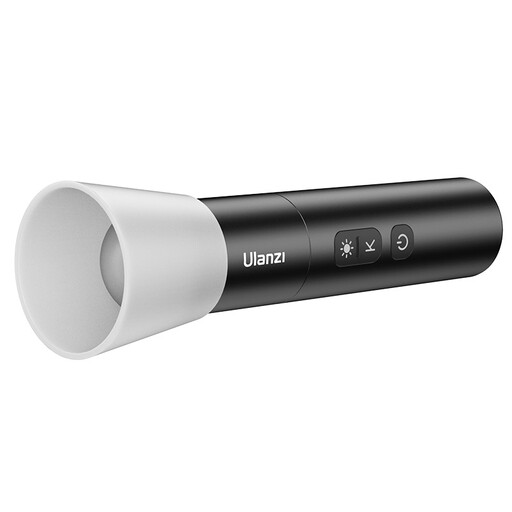 No image available
This portable model may suit you if you’re looking for a compact light with an adjustable beam.
The product name lists a zoom function, four brightness levels, a colour temperature of 2000K–5500K, a 2000 mAh battery and a weight of 187 g.
Yes. Make a test recording by the window and, if needed, place a white reflector opposite the window to direct existing light towards the shadowed side. If there isn’t enough window light, a reflector won’t add any light of its own.
Make a short test with the light and camera you’ll actually use. Sony recommends adjusting the shutter speed if flicker occurs under artificial lighting, and suggests settings such as 1/50 or 1/100 of a second in countries with a 50 Hz mains frequency. The right setting depends on the camera and light source.
Check whether the stand or clamp, power supply, diffuser and any battery are included with the exact version you’re buying. Follow the model’s instructions, keep cables clear of the writing area and test the complete setup before a lesson.
For a standard online consumer purchase, you generally have a statutory cooling-off period of up to 14 days after delivery, with some exceptions. According to ACM ConsuWijzer, the seller is also responsible for the statutory guarantee if a product doesn’t meet what you could reasonably expect. A commercial guarantee period doesn’t replace this right.
CE marking is relevant when the video light falls under EU rules that require it. The marking relates to the manufacturer’s declaration that the product complies with the applicable rules; on its own, it isn’t an independent test of flicker, colour rendition or suitability for your recording.